总体思路
现在我有两台主机,100采集102日志后,通过filebeat采集发送给logstash,Logstash清洗完成后发送给es,es建立索引进行存储
1 | 192.168.10.l00 almalinux9.6 rsyslog服务端 514端口 |
配置客户端
配置cmd记录脚本
简单来说,每次执行命令都会触发这个trap,脚本把命令和信息摘出来,然后把各种信息包括IP、用户名、具体命令,全都通过logger写入日志rsyslog日志
附带了简单的清洗
1 | cat > /etc/profile.d/cmdhistory.sh <<EOF |
配置rsyslog
rsyslog配置一方面写到本地文件,一方面转发到远程服务器
1 | grep -q "local6.debug" /etc/rsyslog.conf || { |
配置日志轮转
避免本地日志因操作过多,导致的磁盘爆满
1 | cat > /etc/logrotate.d/localmessages << 'EOF' |
完整脚本
1 | #!/bin/bash |
查看本地日志
1 | Jun 26 14:25:51 test root: SESSION=1858, from_remote_host=192.168.10.254, USER=root, SHELL=/bin/bash, PWD=/root, CMD=pwd |
配置服务端-分流操作与登录审计日志
配置udp接受日志,按facility分流,便于清洗
1 | cat > /etc/rsyslog.d/remote.conf <<'EOF' |
分流完成的日志
1 | ls /var/log/remote/192.168.10.102/ |
配置filebeat转发
1 | # /etc/filebeat/filebeat.yml |
字段解释
fields:
log_type: secure
fields_under_root: true
表示新添加一个自定义字段fields,包含键值对log_type: secure
并且包装在json最外层
配置logstash数据清洗
新增logstash子配置文件,使用grok清洗一下
思路说明:
两种日志→条件分发→grok解析→时间轴纠偏→发给es
1 | 目标日志: |
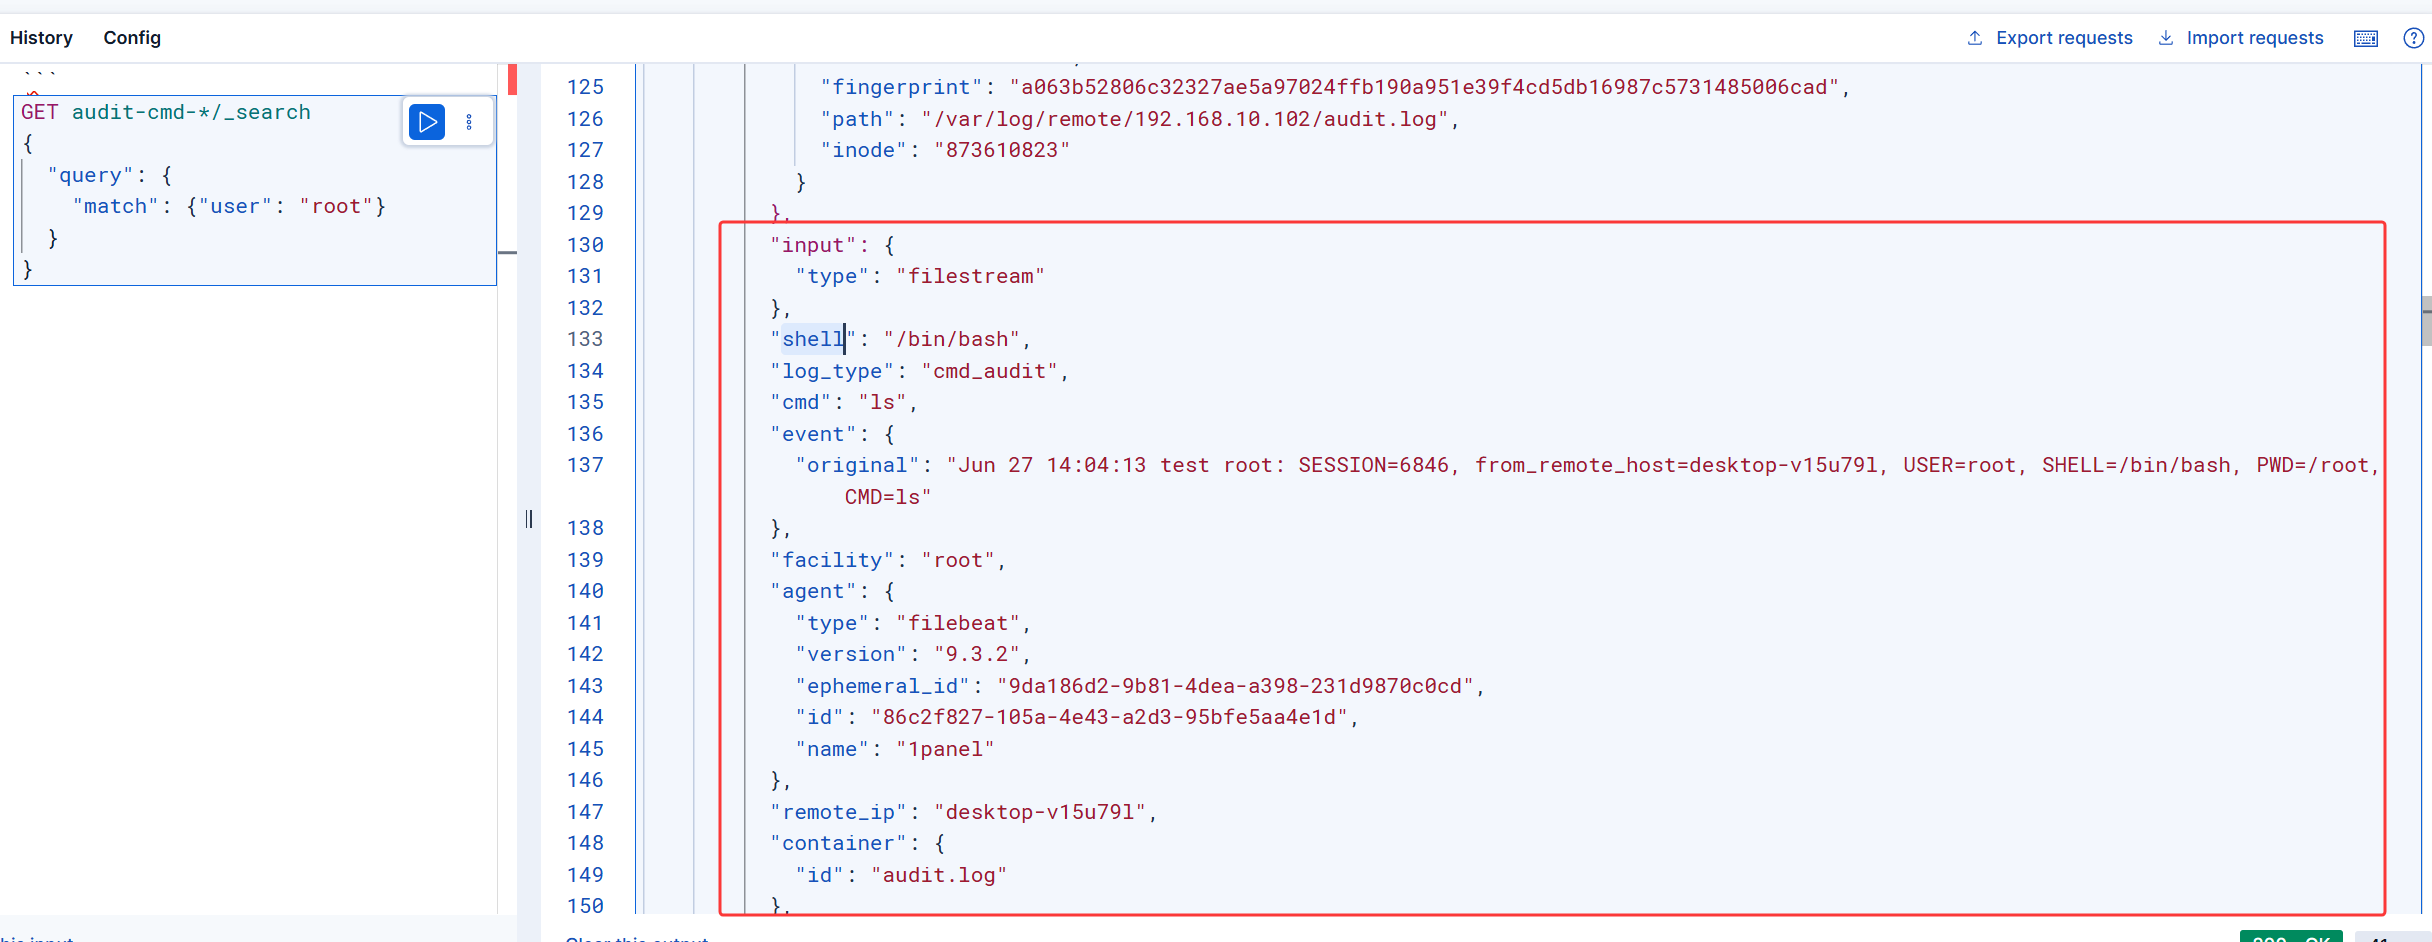
验证:查看es中是否存在日志
就用自动的索引,索引模板不是不是很想创建了